

How to Set Up a Cold Plunge at Home: 2026 Guide
Table of Contents
- What You'll Need Before You Start
- Step 1: Choose Your Tub and Find the Right Spot
- Step 2: Pick the Best Cold Plunge Chillers and Filtration
- Step 3: Handle Plumbing, Electrical, and GFCI Safety
- Step 4: Assemble and Fill Your Cold Plunge
- Cold Plunge Maintenance and Sanitation Schedule
- Cold Plunge Duration for Beginners
- Long-Term Costs and Advanced Automation
- Frequently Asked Questions
Last Updated: September 10, 2026
What You'll Need Before You Start
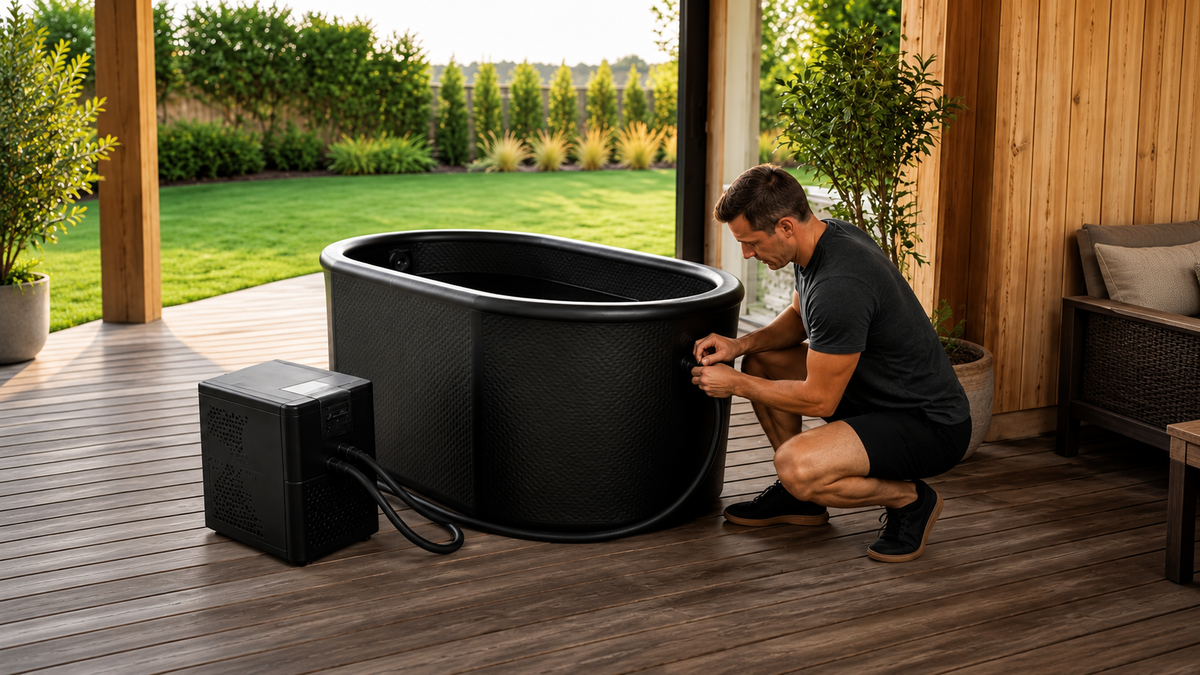
Learning how to set up a cold plunge at home takes more planning than most people expect, and the failure points are almost always the same: undersized chillers, unsafe electrical, and a spot that can't carry the weight. This guide from Vital Fit Home walks through the full build, from tub selection to long-term upkeep.
Before you buy anything, confirm four things:
- Space: a footprint of roughly 1.5 by 2.5 meters, plus clearance for the chiller and access panels
- Power: a dedicated grounded circuit, ideally with GFCI protection
- Drainage: a path for emptying and refilling without flooding the room
- Budget: the tub, chiller, fittings, and ongoing running costs
Get these wrong and you'll rebuild the setup twice.
Step 1: Choose Your Tub and Find the Right Spot
Tub choice comes down to three options. Each suits a different home and a different budget.
| Tub Type | Best For | Trade-Off |
|---|---|---|
| Stock tank | Lowest upfront cost | Rust, poor insulation, needs modification |
| Acrylic plunge tub | Indoor installs, durability | Higher price, heavy |
| Thermowood barrel | Outdoor aesthetics, year-round use | Requires weather protection |
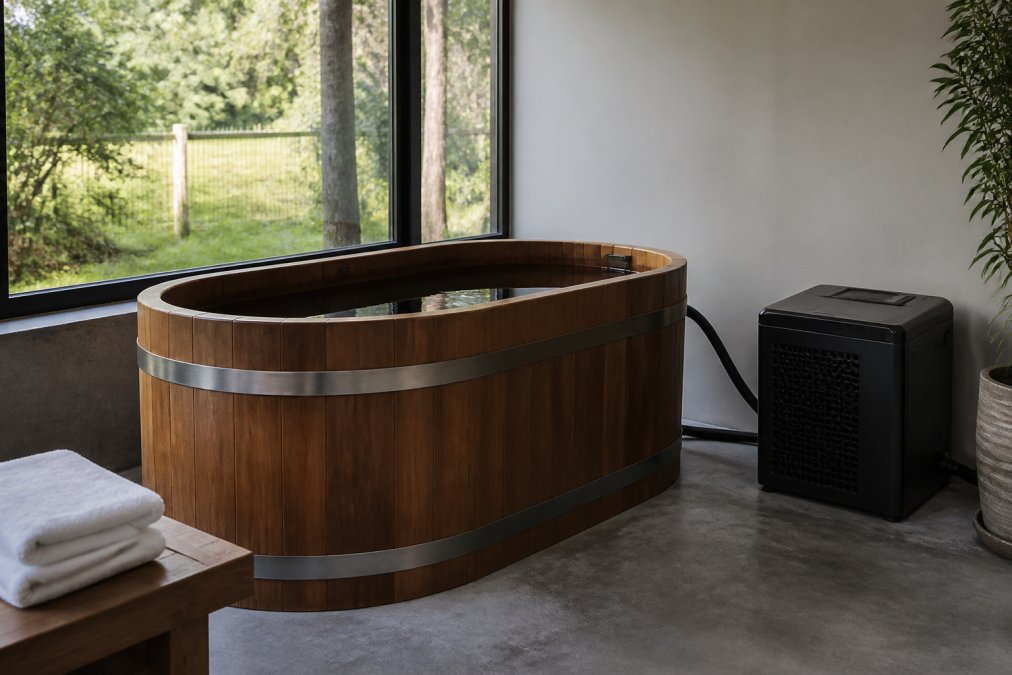
A premium option like the Icetubs IceBarrel XL combines Thermowood exterior with a fiberglass interior and integrated smart temperature control, which removes the guesswork from temperature management.

Indoor vs. Outdoor Placement
Indoor placement gives you year-round access and stable ambient temperature, which reduces how hard your chiller works. The trade-offs are ventilation and moisture control. A plunge room needs active airflow, or you'll get condensation on cold surfaces and eventual mold in the walls.
Outdoor setups are simpler to vent but expose the tub to sun, frost, and debris. In colder climates, an outdoor chiller has to fight ambient temperature to hold a set point, which shortens its service life.
Level Surface and Structural Support
A filled cold plunge weighs far more than most people estimate, and a water chiller adds more. A wooden deck built for foot traffic is usually not rated for that concentrated load. Concrete slabs, reinforced floors, or a purpose-built platform are the safe choices. Check level with a spirit level across both axes: an unlevel tub stresses the shell and creates uneven pressure on bulkhead fittings.
Step 2: Pick the Best Cold Plunge Chillers and Filtration
The best cold plunge chillers match BTU capacity to your water volume and the temperature gap the unit has to close, not to the tub's marketing description. Undersizing is the single most common build mistake, and it shows up as a chiller that runs continuously, never quite hits set point, and wears out early.
The Frostcore Ice Bath Water Chiller runs a 36-86°F range with WiFi control and works with most standard tubs, holding temperature without ice. For a fully integrated system, the RevX X Tub with LUX Chiller pairs a deep acrylic tub with three-inch foam-insulated walls and a matched chiller and filtration package.


How to Size a Chiller for Your Water Capacity
Chiller sizing follows a simple rule: more water volume and a wider gap between ambient and target temperature both demand more BTU capacity. A small tub in a cool basement needs far less cooling power than a large tub in a warm garage. If you're unsure, size up rather than down. An oversized chiller cycles less and holds temperature more consistently.
Work the math in two steps before you buy:
- Estimate water volume. A stock tank around 100 gallons holds roughly 830 lb of water; a 150-gallon acrylic tub holds closer to 1,250 lb (usgs.gov). Chiller ratings are usually quoted for a specific volume, so match the unit to your actual fill, not the tub's nominal size.
- Estimate the temperature gap. A chiller pulling 80°F water down to 45°F is doing far more work than one holding 60°F water at 50°F. In a warm garage, that gap can double the load a unit sees in a cool basement.
A common pattern is to add roughly 20-30% headroom over the chiller's rated volume for your climate. If your garage hits 95°F in summer, treat that as the design case, not the mild spring average.
Filtration and Sanitation Hardware
Filtration and sanitation are two separate jobs, and confusing them is why some builds go cloudy anyway.
- Mechanical filtration traps debris and particulates. Cartridge filters are the most common in home setups; they need rinsing weekly and replacement every few months depending on use.
- Sanitation kills or oxidizes what filtration can't catch. Hydrogen peroxide is gentle on skin and simple to dose. Ozone generators oxidize contaminants automatically as water circulates.
- Circulation is the piece most owners underestimate. A pump that moves water too slowly lets sanitizer sit in pockets and lets biofilm form in the lines. Match pump flow to the chiller's recommended rate.
Many owners run a low-dose sanitizer alongside ozone for consistent water quality. If you're running ozone, keep the generator on a timer so it cycles rather than runs continuously, which extends its service life.
Step 3: Handle Plumbing, Electrical, and GFCI Safety
Electrical safety is where DIY builds go wrong, and it's the one area worth hiring a licensed electrician for.
A cold plunge chiller draws continuous current near water (osha.gov). That combination requires a ground fault circuit interrupter, or GFCI, which shuts the circuit off the moment it detects a ground fault. If you're uncertain what a GFCI is, it's a protective outlet or breaker designed specifically for wet locations.
- Dedicated circuit sized to the chiller's rated electrical load
- GFCI protection on that circuit, not a shared household line
- All connections above the waterline and inside a weatherproof enclosure outdoors
- Cord routed with a drip loop so water can't travel into the outlet
Plumbing is simpler: intake hose from the tub to the chiller, outtake hose back to the tub, secured with hose clamps at every joint. Bulkhead fittings through the tub wall need a waterproof seal, and hand-tight plus a quarter turn is usually enough. Over-tightening cracks the fitting.
Step 4: Assemble and Fill Your Cold Plunge
When you learn how to set up a cold plunge at home, assembly order matters. Build the loop first, then fill.
- Position the tub on the level surface and confirm it doesn't rock
- Install bulkhead fittings and check the seals
- Connect the intake hose and outtake hose to the chiller
- Tighten all hose clamps and verify flow direction
- Fill the tub and check for leaks at every joint before powering on
- Prime the chiller, then start it and set your target temperature
- Add sanitizer and run the pump to circulate
Fill with the chiller off. Running a chiller dry damages the compressor, and that repair usually costs more than the unit is worth.
Cold Plunge Maintenance and Sanitation Schedule
Cold plunge maintenance and sanitation break down into daily, weekly, and monthly tasks. Skip them and water quality degrades fast, especially in a warm room.
| Frequency | Task |
|---|---|
| Daily | Check temperature, skim debris, test sanitizer level |
| Weekly | Clean the filter, check hose connections for drips |
| Monthly | Deep clean the tub, inspect fittings and seals |
| Quarterly | Replace filter media, descale the chiller loop |
Sanitization options include hydrogen peroxide, which is gentle on skin and simple to dose, and an ozone generator, which oxidizes contaminants automatically as water circulates. Many owners run a low-dose sanitizer alongside ozone for consistent water quality.
Troubleshooting Leaks, Pumps, and Water Quality
Most leaks trace to three places: hose clamps, bulkhead fittings, and the pump seal. Tighten clamps first, then inspect the bulkhead seal. If the pump runs but flow drops, the filter is usually clogged or air is trapped in the line. Cloudy water almost always means insufficient circulation or a sanitizer level that's drifted low. Fix flow before you add more chemicals.
Cold Plunge Duration for Beginners
For beginners, cold plunge duration should start short: 30 to 60 seconds at a temperature you can tolerate, building gradually over weeks (the CDC). The goal is consistency, not endurance.
A practical progression looks like this:
- Weeks 1-2: 30-60 seconds, 3-4 times per week
- Weeks 3-4: 90 seconds to 2 minutes
- Weeks 5-8: 2-3 minutes, adjusting temperature downward as comfort improves
Step out before you're shivering uncontrollably. Shorter, regular sessions build cold tolerance faster than occasional long ones.
Long-Term Costs and Advanced Automation
Most guides stop at the receipt. The real number is what the plunge costs to run in year two, and that number is driven by four things: electricity to run the chiller, replacement filters, sanitizer, and occasional parts.
What Actually Drives Your Electricity Bill
Electricity is the largest and most variable line item, and it depends on three factors:
- Ambient temperature. A chiller in a 90°F garage works far harder than one in a 65°F basement to hold the same set point.
- Insulation. Three-inch foam walls and a fitted cover cut the chiller's duty cycle noticeably. An uninsulated stock tank loses cold to the room all day.
- Set point. Every degree you drop below ambient widens the gap the compressor has to close.
A common pattern is that an insulated, covered tub in a cool space runs the chiller a fraction of the time an uninsulated tub in a warm garage does. If you want to cut the bill, insulate and cover before you buy a bigger chiller.
Filters, Sanitizer, and Parts
- Filters: cartridge media needs replacement every few months with regular use. Buy in multi-packs to cut per-unit cost.
- Sanitizer: hydrogen peroxide is dosed regularly and consumed continuously; ozone generators have a higher upfront cost but lower ongoing consumable cost.
- Parts: pump seals, hose clamps, and bulkhead gaskets are cheap individually but add up. Keep spares on hand so a $5 gasket doesn't turn into a week offline.
Advanced Automation
Automation is where setups separate, and it's the angle most guides skip entirely.
- WiFi-controlled chillers let you schedule temperature changes so the water is ready when you are rather than running all day. The Frostcore Ice Bath Water Chiller supports WiFi control, which makes scheduling practical.
- Smart plugs on the chiller and ozone generator let you set run windows and monitor power draw from your phone.
- Leak sensors placed under the tub and near the chiller catch failures early, which is far cheaper than replacing a pump or repairing water damage.
- Remote temperature monitoring lets you confirm the plunge is at set point before you walk out to it, which matters in cold weather.
Frequently Asked Questions
How many minutes a day should you cold plunge?
Beginners should start with 30 to 60 seconds at 50 to 59 degrees Fahrenheit, then add 15 to 30 seconds per session. Work up to 2 to 3 minutes as your tolerance grows. For cold plunge duration for beginners, three to four sessions per week is plenty. Going longer than 10 minutes at very cold temperatures raises the risk of hypothermia and offers no extra recovery benefit.
Do you need a dedicated chiller for a home cold plunge?
A chiller keeps water at a steady 37 to 50 degrees Fahrenheit without bags of ice, which makes daily use realistic. The Frostcore Ice Bath Water Chiller ($1,399) fits most standard tubs and holds 36 to 86 degrees Fahrenheit with WiFi control. Without a chiller, you will spend $10 to $20 per week on ice and still fight temperature swings, especially in summer.
What are the electrical safety requirements for home cold plunge setups?
Any pump or chiller near water must plug into a GFCI outlet, which trips within milliseconds of a ground fault. Most chillers draw 4 to 8 amps at 110 to 120 volts, so a dedicated 15 or 20 amp circuit is safest. Keep cords out of standing water, use drip loops, and hire a licensed electrician if you need a new outlet or a 220 volt line.
How often do you need to change the water and clean the tub?
With a filtration system and proper sanitation, most home cold plunges need a full water change every 4 to 6 weeks. Rinse the filter weekly, wipe the walls with a non-foaming cleaner every two weeks, and test pH and sanitizer levels two to three times per week. Between changes, top off with fresh water and keep the cover on to slow evaporation and debris.
The hardest part of a home cold plunge isn't the build, it's choosing equipment that actually fits your space, your power, and your routine. Vital Fit Home helps you get that right the first time, with curated cold plunge tubs and chillers, free wellness design and room visualization, and installation guidance that continues after the sale. Get started with Vital Fit Home and build a recovery setup you'll actually use.

Leave a comment
This site is protected by hCaptcha and the hCaptcha Privacy Policy and Terms of Service apply.